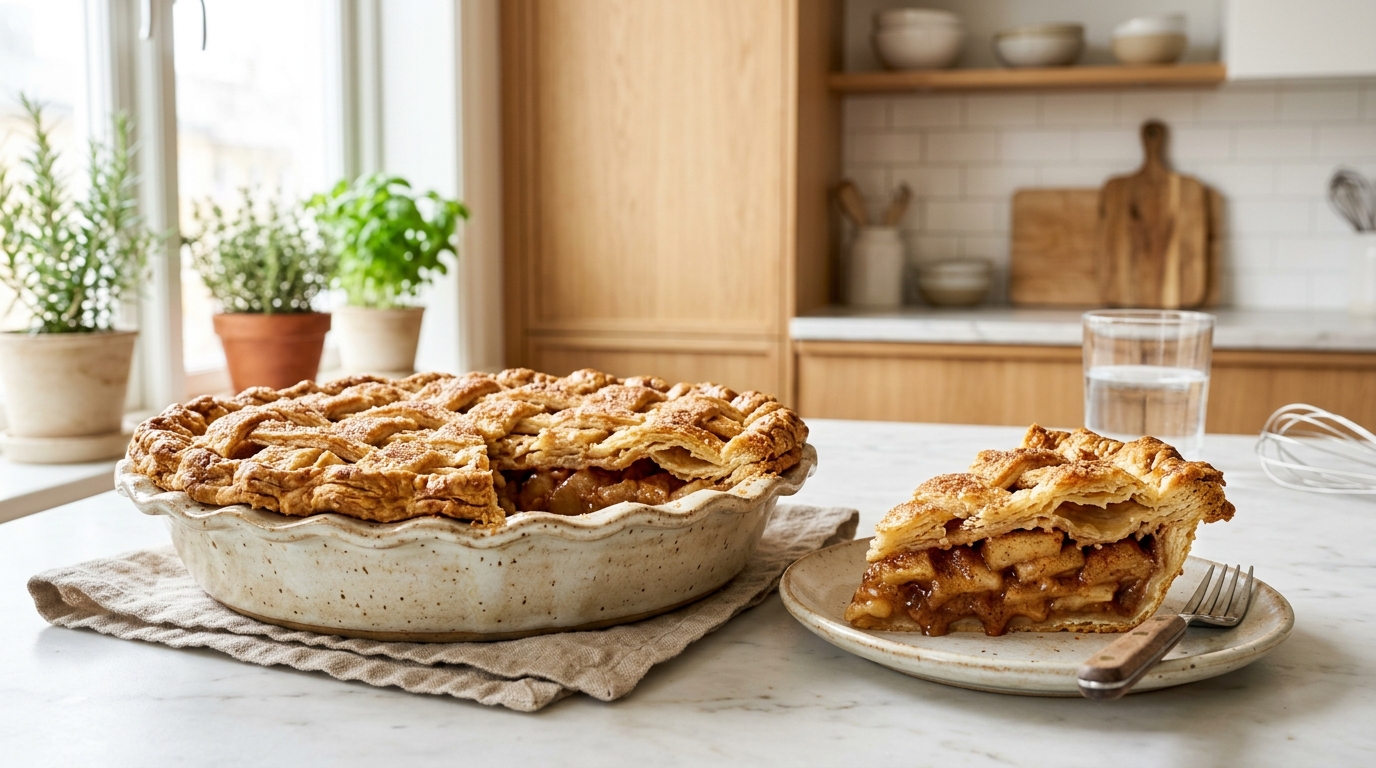
Few desserts are as comforting and timeless as a Classic Homemade Apple Pie. With its flaky, buttery double crust and warm cinnamon-spiced apple filling, this beloved dessert has been a centerpiece at family gatherings, holiday celebrations, and Sunday dinners for generations. Whether you’re baking for Thanksgiving, Christmas, or simply craving a traditional family-style treat, a freshly baked apple pie never disappoints.
The secret to an unforgettable apple pie lies in the perfect balance of textures and flavors. To ensure your pie has a perfectly cooked, jammy filling without a soggy bottom crust, it all comes down to how you treat the apples. By tossing the sliced apples in spices and sugar, and letting them sit briefly to release their juices before baking, you guarantee a rich, perfectly thickened center.
Although homemade pie may seem intimidating, it’s surprisingly simple with the right technique. Starting the pie at a higher heat before lowering the temperature, and giving it 2 to 3 hours to cool before slicing, ensures beautifully clean slices every time.
Whether served warm with a scoop of vanilla ice cream for a classic “à la mode” experience or enjoyed on its own, this Classic Homemade Apple Pie is guaranteed to become one of your favorite desserts.
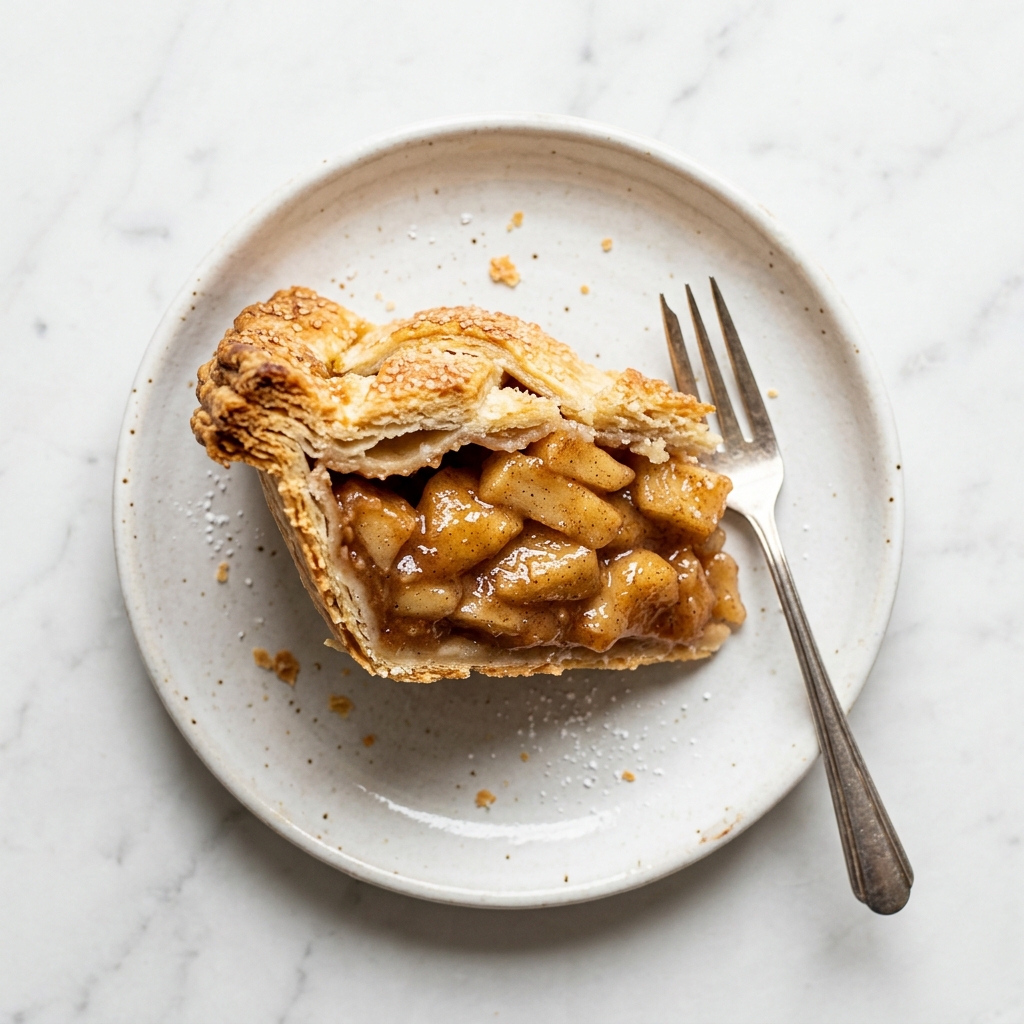
Classic Homemade Apple Pie | Traditional Flaky Dessert Recipe
Ingredients
Equipment
Method
- Preheat your oven to 400°F (200°C). Place a baking sheet in the oven to catch any bubbling drips.
- In a large bowl, toss the sliced apples with the lemon juice, brown sugar, granulated sugar, flour, cinnamon, and nutmeg until the slices are evenly coated. Let them sit briefly to release their juices before baking.
- Pour the spiced apple filling into the pastry-lined pie pan, mounding them slightly in the center. Dot the top of the apples evenly with the small pieces of butter.
- Roll out the second pie crust and place it gently over the apple filling. Trim any excess dough, roll the edges inward, and pinch or crimp them together to seal the pie.
- Cut 4 to 5 small slits in the center of the top crust to allow steam to escape.
- Beat the egg and water together, then lightly brush the mixture over the top crust. This gives the pie a beautiful, glossy, golden finish.
- Bake:
- Place the pie on the baking sheet and bake at 400°F (200°C) for 25 minutes. Reduce the oven temperature to 350°F (175°C) and bake for and additional 35 minutes, or until the crust is deep golden brown and the filling juices are visibly bubbling through the vents.
- Cover the edges of the crust with aluminum foil during the last 15 minutes of baking to prevent overbrowning.
- Remove the pie from the oven and cool at room temperature on a wire rack for at least 2 to 3 hours before slicing. This gives the filling time to set completely so it does not run when cut.
Notes
- Apple Selection: Use a mix of tart Granny Smith and sweet Honeycrisp apples for the best flavor balance and texture.
- Avoid a Soggy Bottom: Tossing the sliced apples in spices and sugar, and letting them sit briefly to release their juices before baking, ensures a jammy, perfectly cooked filling without soggy pastry.
-
Cooling is Key: Do not skip the resting time! Letting the pie cool for 2 to 3 hours ensures clean slices and a perfectly set filling.Serve warm with a scoop of vanilla ice cream for a classic “à la mode” experience!
Why You’ll Love This Classic Apple Pie
There are countless reasons this traditional recipe has remained a favorite for generations.
- Flaky, buttery double crust
- Perfectly cooked, jammy filling
- No soggy bottom crust!
- Perfect balance of tart Granny Smith and sweet Honeycrisp apples
- Rich caramel notes from light brown sugar
- Ideal for holidays and family celebrations
- Classic comfort food dessert
- Easy to prepare ahead of time
- Beautiful glossy finish from a simple egg wash
- Perfect with a scoop of vanilla ice cream
Every slice tastes like homemade comfort.
What Makes a Great Apple Pie?
The best apple pie combines a crisp, flaky crust with apples that are tender without becoming mushy.
Using a combination of sweet and tart apples—specifically Honeycrisp and Granny Smith—creates deeper flavor and a more satisfying texture. Warm spices such as ground cinnamon and nutmeg enhance the apples without overpowering their natural sweetness, while a tablespoon of lemon juice brightens every bite.
Equally important is avoiding a soggy bottom. Letting the spiced and sugared apples sit briefly to release their juices before filling the pie pan is a game-changing technique.
Finally, allowing the filling to thicken naturally during the baking and cooling process is essential. Giving the pie at least 2 to 3 hours to rest on a wire rack helps the juices set completely, preventing them from running onto the plate when cut.
Ingredient Highlights
Simple, pantry-staple ingredients come together to create a truly memorable dessert.
Apples
Using a blend of tart Granny Smith and sweet Honeycrisp apples gives the filling excellent flavor and the perfect bite.
You’ll need about 6 to 7 cups (roughly 6 medium apples), peeled, cored, and thinly sliced.
Sugars
A mix of equal parts (½ cup each) packed light brown sugar and granulated white sugar adds subtle caramel notes while creating a rich, syrupy filling.
Cinnamon & Nutmeg
One and a half teaspoons of ground cinnamon and a quarter teaspoon of nutmeg provide the warm, comforting flavor that makes traditional apple pie so recognizable.
Flour
Three tablespoons of all-purpose flour act as the perfect thickener, mixing with the natural apple juices to create a jammy consistency.
Butter
Two tablespoons of butter, cut into small pieces and dotted evenly over the mounded apples, melt into the filling during baking to add incredible richness.
Pie Crust
A flaky 9-inch double crust (homemade or store-bought) surrounds the filling.
Brushing the top crust with an egg wash (1 large egg beaten with 1 tablespoon of water) creates a beautiful, glossy, golden finish.
Tips for the Best Apple Pie
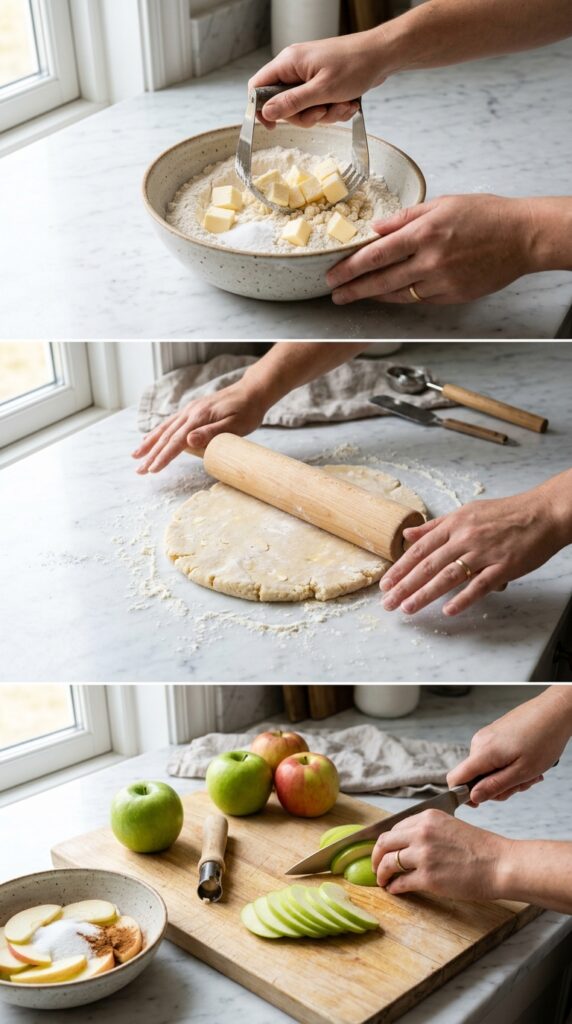
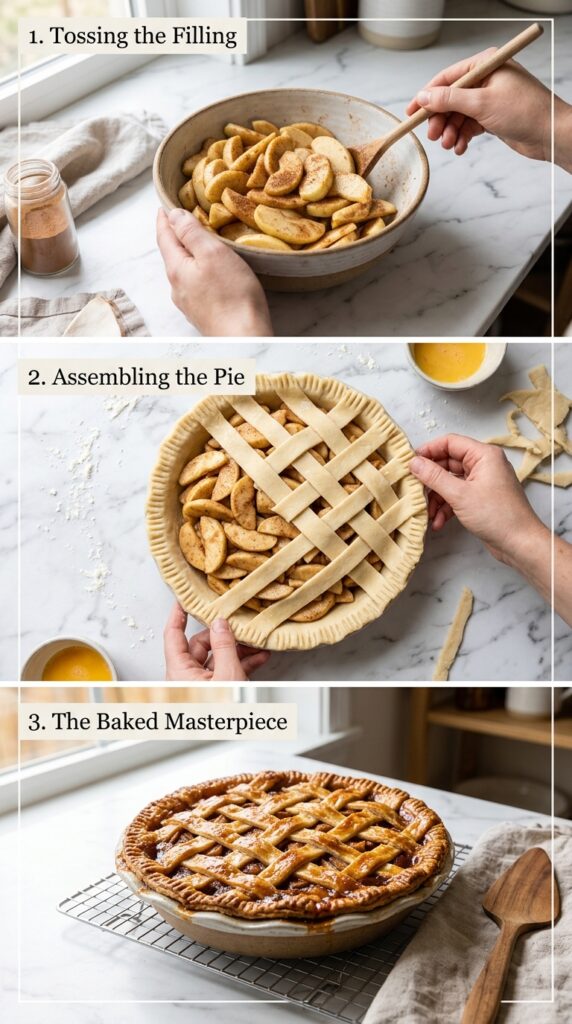
Follow these simple tips for bakery-quality results at home.
Toss and Rest the Apples
After mixing the apples with the lemon juice, sugars, flour, and spices, allow them to sit briefly.
This helps release excess moisture before baking and guarantees a perfectly cooked, jammy filling without a soggy bottom crust.
Mound the Apples in the Center
When pouring the spiced apple filling into the pastry-lined pie pan, mound them slightly in the center to create that beautiful, classic dome shape.
Vent the Top Crust
Steam needs a way to escape while baking.
Cutting 4 to 5 small slits in the center of the top crust helps prevent the pastry from becoming soggy and allows the filling to bubble up perfectly.
Protect the Edges
Bake the pie at 400°F (200°C) for 25 minutes, then lower to 350°F (175°C) for 35 minutes.
To prevent overbrowning, loosely cover the edges of the crust with aluminum foil during the last 15 minutes of baking.
Cool Completely Before Slicing
Allowing the pie to cool at room temperature on a wire rack for at least 2 to 3 hours helps the filling set completely.
This results in clean slices that hold together beautifully and don’t run.
Easy Variations
Customize your apple pie with these delicious ideas.
Caramel Apple Pie
Drizzle caramel sauce over the apple filling before adding the top crust.
Dutch Apple Pie
Replace the top crust with a buttery cinnamon streusel topping.
Apple Cranberry Pie
Mix fresh cranberries with the apples for a tart holiday twist.
Apple Pecan Pie
Add chopped toasted pecans to the filling for extra crunch and nutty flavor.
Maple Apple Pie
Replace part of the sugar with pure maple syrup for deeper flavor.
Spiced Apple Pie
Add a pinch of cloves, ginger, or cardamom for a warm seasonal variation.
What to Serve with Apple Pie
Apple pie pairs beautifully with both warm and cold accompaniments.
Serve it with:
- Vanilla Ice Cream (Classic à la mode!)
- Fresh Whipped Cream
- Salted Caramel Sauce
- Homemade Hot Chocolate
- Hot Coffee
- Pumpkin Spice Latte
- Chai Tea
- Vanilla Custard
- Cinnamon Ice Cream
- Sharp Cheddar Cheese (a regional favorite!)
Warm pie served with melting vanilla ice cream remains one of the most loved dessert combinations of all time.
Make-Ahead Tips
Apple pie is perfect for preparing in advance.
Assemble the pie one day ahead, cover it tightly, and refrigerate until you’re ready to bake.
You can also bake the pie completely and store it at room temperature for up to two days before serving.
Storage Instructions
Cover leftover pie and store it at room temperature for up to 2 days or refrigerate for up to 5 days.
Warm individual slices in the oven or microwave before serving if desired.
Freezing Instructions
Apple pie freezes exceptionally well.
Freeze the fully baked and cooled pie, or freeze the unbaked assembled pie for up to 3 months.
Bake directly from frozen by adding extra baking time as needed.
Common Mistakes to Avoid
Avoid these common baking mistakes for perfect apple pie every time.
Using the Wrong Apples
Some apples become mushy during baking.
Choose varieties that hold their shape well, like Granny Smith and Honeycrisp.
Skipping the Resting Time
If you don’t let the apples release their juices before baking, you risk a soggy bottom crust.
Cutting Too Soon
Cutting into a hot pie causes the filling to run all over the plate.
Patience results in beautiful slices—wait at least 2 to 3 hours!
Forgetting the Baking Sheet
Always place the pie on a baking sheet to catch any bubbling drips.
This saves your oven from a sticky, smoky mess.
Not Venting the Crust
Steam needs a way to escape while baking.
Cutting 4 to 5 vents helps prevent the crust from puffing up and becoming soggy.
Frequently Asked Questions
Which apples work best for apple pie?
A mix of tart Granny Smith and sweet Honeycrisp apples creates the absolute best flavor and texture.
How do I prevent a soggy bottom crust?
Toss the sliced apples in the spices and sugar, and let them sit briefly to release their juices before adding them to the crust. Baking on the lower rack also helps!
Why do I need two different oven temperatures?
Starting at a high heat (400°F) helps set the crust and makes it flaky. Lowering the heat to 350°F ensures the apples cook through perfectly without burning the pastry.
Why is my filling runny?
The pie may have been sliced before it cooled completely, or it may have needed a little longer in the oven. Wait 2 to 3 hours before slicing so the flour has time to set the juices.
Can I use store-bought pie crust?
Yes!
A good-quality unbaked 9-inch pie shell works very well and saves preparation time.
Why Apple Pie Never Goes Out of Style
Apple Pie has remained one of the world’s most beloved desserts because it combines simple ingredients with comforting flavors. Its buttery crust, fragrant cinnamon filling, and tender baked apples create a dessert that’s both nostalgic and satisfying.
Whether it’s served during Thanksgiving, Christmas, family reunions, or a quiet weekend dinner, homemade apple pie always brings people together. It’s a traditional recipe that has been passed down through generations, and every family adds its own special touch.
Its timeless appeal, beautiful presentation, and incredible flavor ensure that Classic Apple Pie will always have a place on the dessert table.
Final Thoughts
This Classic Homemade Apple Pie is everything a traditional dessert should be—warm, comforting, buttery, and filled with tender cinnamon-spiced apples. With its flaky golden crust and perfectly thickened, jammy filling, it’s a recipe that’s ideal for holidays, celebrations, or simply enjoying with family on a cozy evening.
Serve it warm with a scoop of vanilla ice cream, a dollop of whipped cream, or enjoy it just as it is. However you serve it, this classic family-style pie is sure to become a favorite you’ll bake again and again.
If you loved this Classic Homemade Apple Pie recipe, save it on Pinterest, share it with family and friends, and let us know your favorite apple variety or serving suggestion in the comments. Happy baking!